Dragon's hoard cavern with stacked gold coins and enchanted weapons
Explore a dragon's hoard cavern filled with gold coins and enchanted weapons in this spot-the-difference puzzle. Spot the changes among ancient…
About this scene
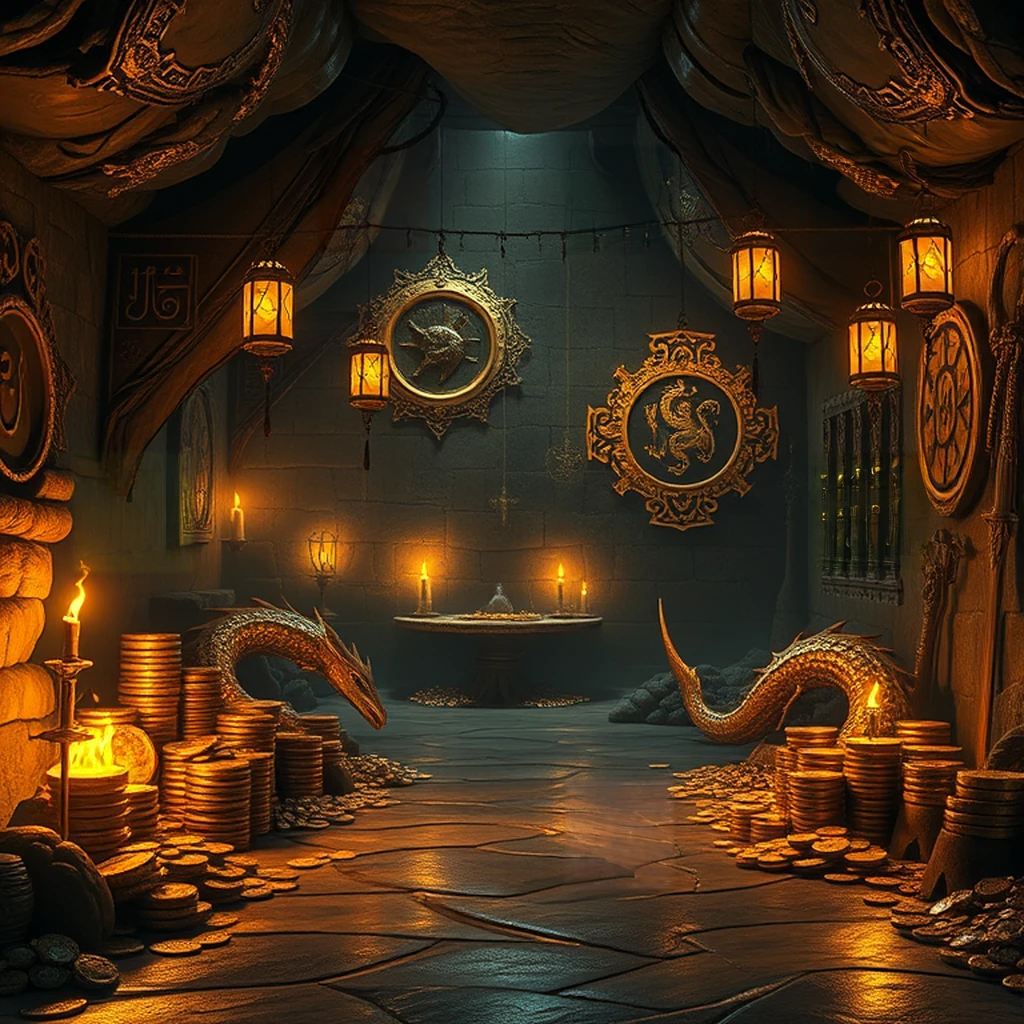
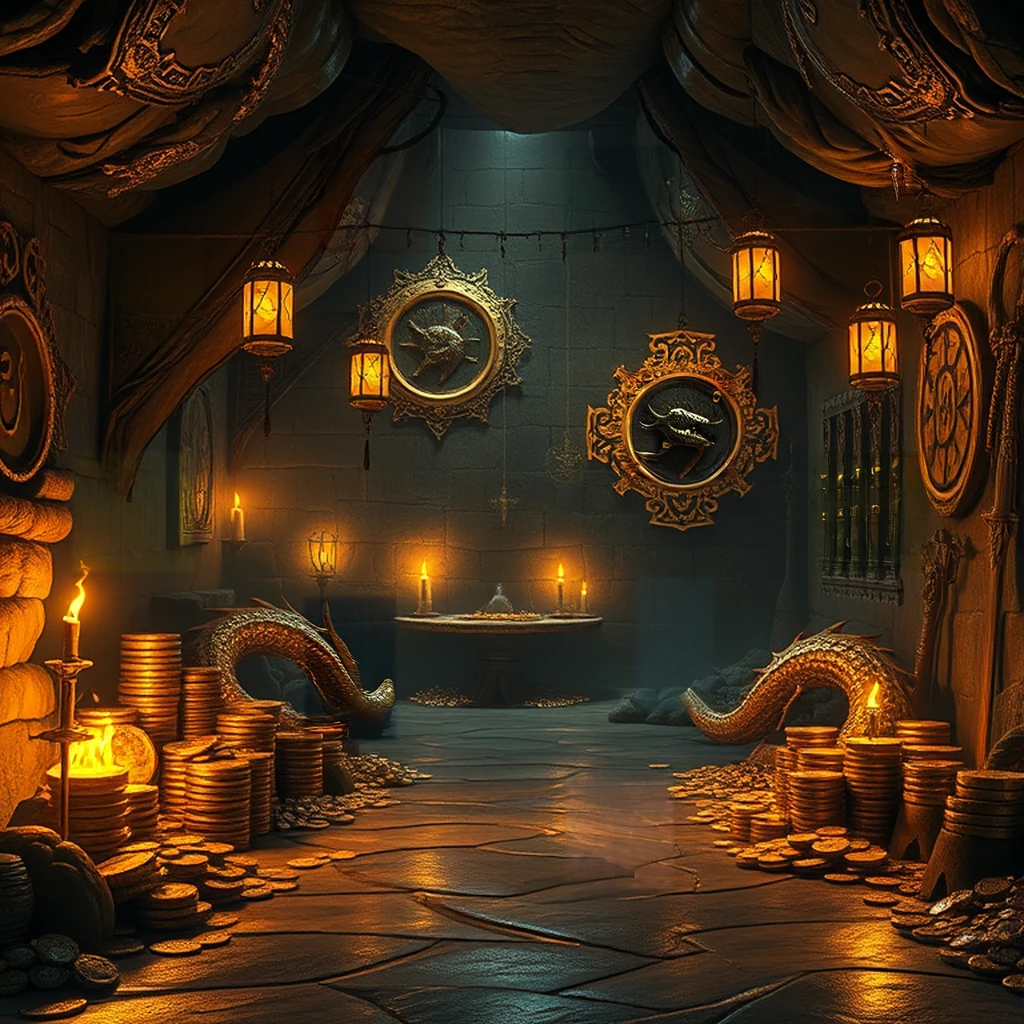
A photorealistic cavern filled with a dragon's hoard, dimly lit by flickering torches and glowing runes, stacks of gleaming gold coins lining the floor, enchanted weapons mounted on walls with intricate carvings, hanging lanterns casting shadows, polished stone walls covered in ancient symbols, reflections on the smooth stone surface, evenly lit, photorealistic, coherent composition
The cavern is cloaked in the dim glow of flickering torches and the eerie luminescence of glowing runes etched into the walls, casting long shadows that dance along polished stone surfaces. The air inside feels heavy with the scent of ancient magic and earthy minerals, while the smooth floor is lined with stacks upon stacks of gleaming gold coins that shimmer under the light, their edges catching every flicker as if alive with a secret fire. Enchanted weapons hang on the walls like silent guardians, their blades and hilts covered in intricate carvings that tell tales of forgotten battles and heroes long past. Polished to perfection, these objects reflect the soft glow around them, making it seem as though they are glowing from within. Hanging lanterns add a layer of soft light that casts deep shadows on the walls, highlighting ancient symbols etched into the stone—a map or perhaps a warning—making one wonder about the secrets hidden in this place. The smooth texture of the stone walls contrasts sharply with the rough-hewn edges of the coins and weapons, each object telling its own story through the details of wear and polish. This scene is captivating not just for its rich detail but also because it offers players a unique challenge to spot subtle differences among objects that are both magical and historically evocative, making every puzzle an adventure into another world.
Background
In the annals of ancient fantasy lore, the dragon's hoard is a storied treasure trove that embodies the fears and desires of medieval Europe. Nestled deep within the heart of dark, forbidding mountains, these caverns serve as repositories for untold riches accumulated over centuries by wily dragons. The setting evokes an era when knights and kings ventured into perilous realms to seek out legendary wealth, often finding it guarded by formidable beasts. The hoard's composition reflects a blend of medieval aesthetics and the romanticized portrayal of treasures found in literature and folklore. Enchanted weapons with intricate carvings tell tales of ancient battles and powerful enchantments, while stacks of gleaming gold coins illustrate the allure of untold wealth that drives adventurers and conquerors alike. The cavern itself is adorned with polished stone walls covered in ancient symbols, reminiscent of runic scripts from Northern Europe or Celtic knotwork patterns, suggesting a deep connection to mystical traditions and magical practices. Hanging lanterns cast long shadows across the dimly lit space, adding an air of mystery and danger that encapsulates the tension between humanity's thirst for treasure and the supernatural guardianship of such wealth.
Tips for this puzzle
When you're on the hunt for differences in today's dragon hoard scene, keep your eyes peeled! With stacks of gold coins and walls lined with enchanted weapons, there are plenty of places where small details can get lost. Shadows cast by hanging lanterns can hide tiny discrepancies, so move your gaze slowly over each corner of the cavern. The intricate carvings on the weapons might be tricky spots for differences too, as their detailed patterns could easily distract you. Don’t forget to pay attention to the smooth stone walls covered in ancient symbols; sometimes a slight variation or an extra rune can sneak into the composition. Try scanning methodically from left to right and top to bottom, giving each part of the scene equal scrutiny. Happy hunting!
How to play
- Two near-identical images are shown side by side.
- Tap or click on the differences before the countdown timer runs out.
- Wrong clicks subtract 5 seconds from the clock.
- Stuck? Spend a hint token to glow one remaining difference.
About this puzzle
This is one of 633+ hand-curated AI-generated spot-the-difference puzzles in the SpotDiff library. Each puzzle has multiple variants — the differences you see on your first play are different from the next. 3 variant(s) for this scene.
SpotDiff is free to play with no signup required, and the library grows daily — roughly 10-30 new puzzles added every day. Hint tokens are earned through daily login, streaks, and referrals — or buy a bundle if you want unlimited hints. Refunds are available within 7 days, prorated by the tokens you haven't used yet.