Dragon's hoard cavern with stacked gold coins and enchanted weapons
Explore the mystical dragon's hoard cavern filled with stacks of golden coins and enchanted weapons in this spot-the-difference puzzle adventure.
About this scene
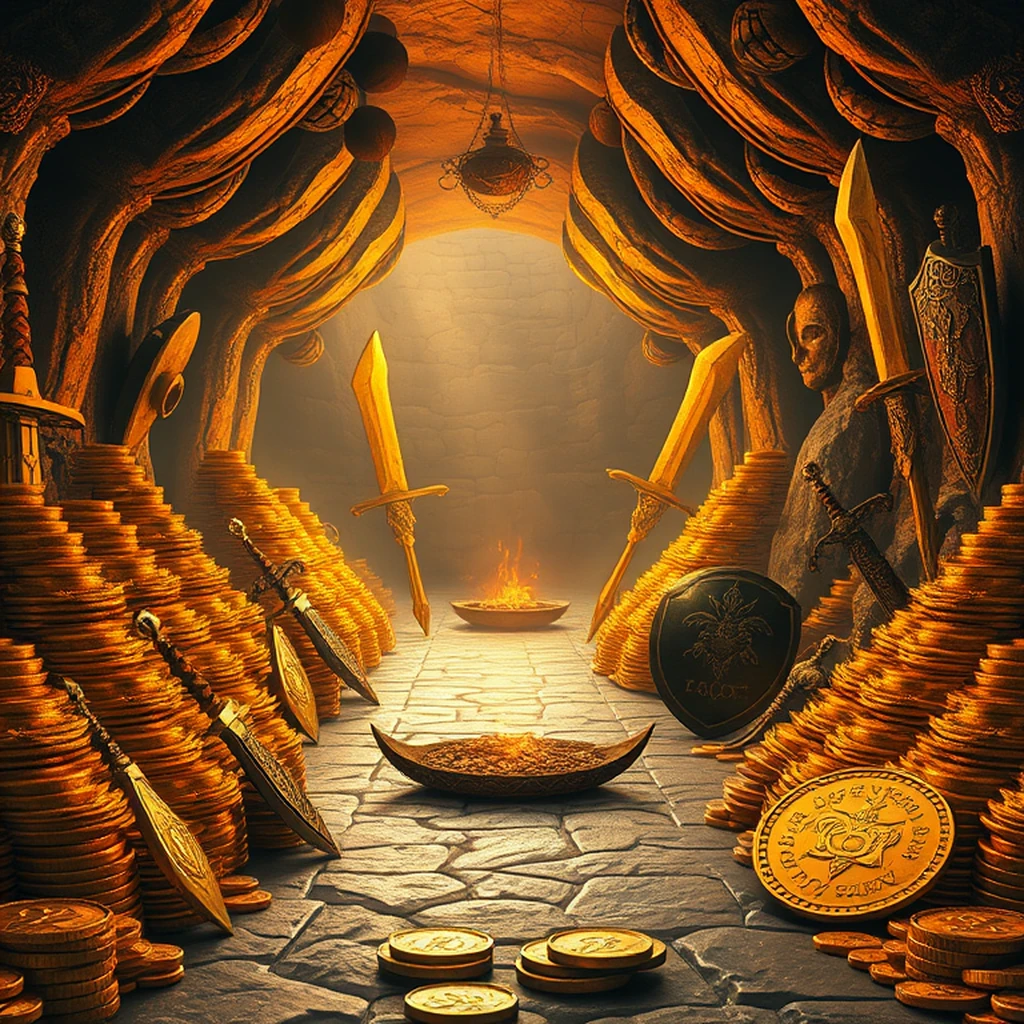
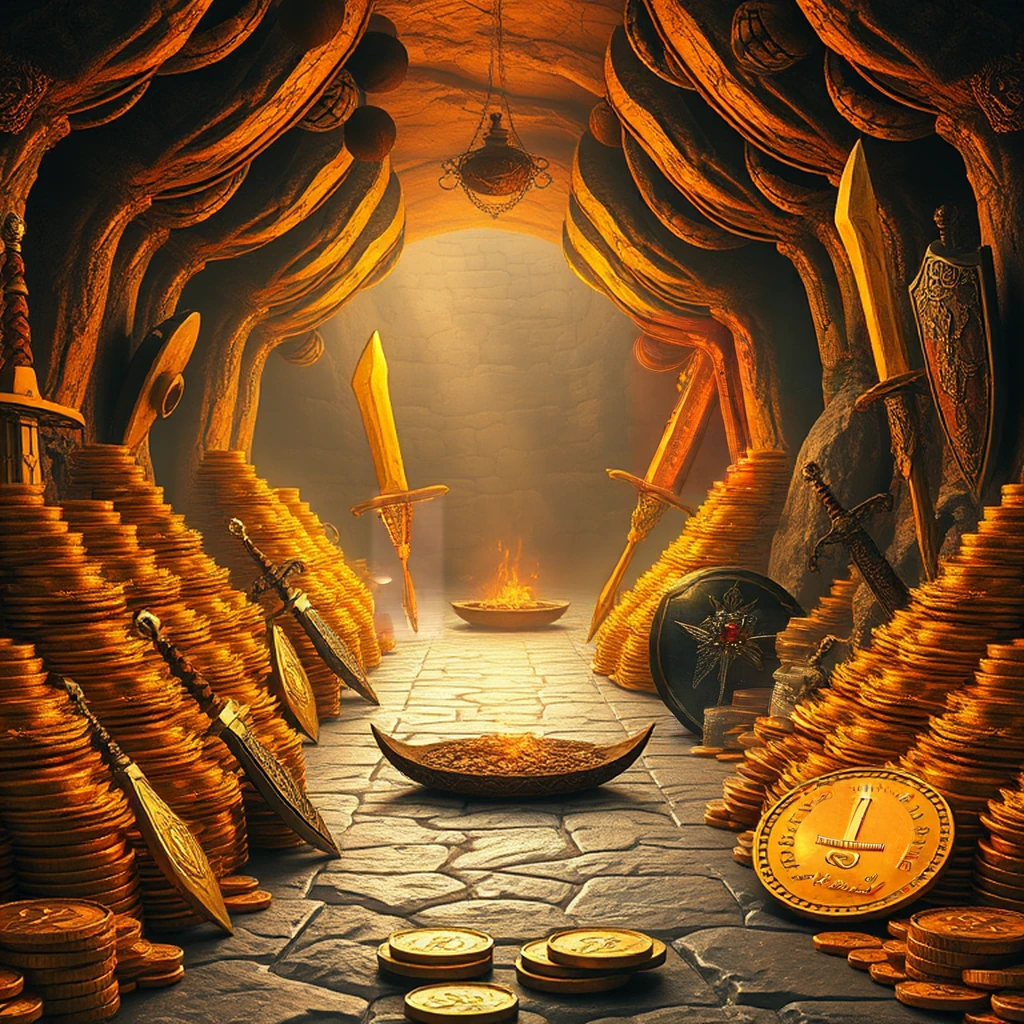
An expansive dragon's hoard cavern filled with stacked gold coins and enchanted weapons, warm golden light casting shadows on stone walls, large piles of gleaming coins forming pyramids and mounds, several ancient swords and shields hanging from the ceiling and leaning against walls, ornate jewelry scattered around the ground, glowing embers in a small hearth at the far end, reflections shimmering off polished surfaces, evenly lit, photorealistic, coherent composition
The vast cavern of the dragon's hoard glows warmly under the golden light that filters through an unseen opening, casting dancing shadows on the rough stone walls. Stacked piles of gleaming gold coins form intricate pyramids and mounds, their surfaces catching and reflecting light in a dazzling display of wealth. Hanging from the ceiling and leaning against the walls are ancient swords and shields, their metal polished to mirror-like sheens that catch the glow with an ethereal shimmer. Scattered across the floor, ornate jewelry twinkles like stars fallen into this underground treasury. A small hearth at one end flickers with glowing embers, casting a soft orange light that plays over everything in its reach. The textures of each item are richly detailed: the cold, smooth surface of the coins contrasts sharply with the rough, worn metal of the weapons and the rugged stone beneath them. This cavern feels like stepping into an ancient legend come to life, where every object tells a story of battles fought and treasures hoarded over countless years. The interplay of light and shadow, combined with the variety of textures and colors, makes this scene not only visually captivating but also intriguing for anyone looking closely enough to spot even the smallest differences hidden within its enchanting details.
Background
In the realm of medieval fantasy, the dragon's hoard cavern represents a storied treasure trove that has captivated imaginations for centuries across Europe and beyond. Legends from Scandinavia to the British Isles often feature dragons as guardians of immense wealth amassed over lifetimes or even millennia. These tales are deeply rooted in folklore, serving as allegories for the accumulation of power and wisdom through time. The cavern is filled with stacked gold coins and enchanted weapons, each item bearing its own unique history and significance. Ancient swords and shields hanging from the ceiling reflect the warrior culture prevalent during the Middle Ages, where these items were not only tools but also symbols of status and honor. Ornate jewelry scattered across the ground highlights the influence of Eastern trade routes like the Silk Road, bringing exotic materials and styles to European artisans. The warm golden light that casts shadows on stone walls evokes a sense of mystery and allure, typical in medieval literature where darkness often harbors danger but also secrets and treasures waiting to be discovered. This scene encapsulates a romanticized vision of the past, blending reality with myth, much like the works of J.R.R. Tolkien or C.S. Lewis who drew inspiration from ancient sagas and legends to create their own rich fantasy worlds.
Tips for this puzzle
When you’re diving into today’s dragon hoard puzzle, take your time because there are lots of shiny distractions! Look closely at the piles of gold coins and enchanted weapons scattered around; differences often hide in cluttered corners or shadows cast by piles of treasure. Those ancient swords hanging from the ceiling might have slight variations in their engravings or hilts that aren’t immediately noticeable. Don’t forget about the small hearth glowing embers, where you can spot tiny details like mismatched stones or flickering flames. For systematic scanning, start at one corner and work your way around the room, checking every nook and cranny. Remember to double-check any areas with intricate patterns, as slight changes might be camouflaged within them. Happy hunting!
How to play
- Two near-identical images are shown side by side.
- Tap or click on the differences before the countdown timer runs out.
- Wrong clicks subtract 5 seconds from the clock.
- Stuck? Spend a hint token to glow one remaining difference.
About this puzzle
This is one of 633+ hand-curated AI-generated spot-the-difference puzzles in the SpotDiff library. Each puzzle has multiple variants — the differences you see on your first play are different from the next. 3 variant(s) for this scene.
SpotDiff is free to play with no signup required, and the library grows daily — roughly 10-30 new puzzles added every day. Hint tokens are earned through daily login, streaks, and referrals — or buy a bundle if you want unlimited hints. Refunds are available within 7 days, prorated by the tokens you haven't used yet.