1960s NASA mission control room with CRT monitors
Compare vintage CRT monitors and mission control panels in this retro space adventure puzzle.
About this scene
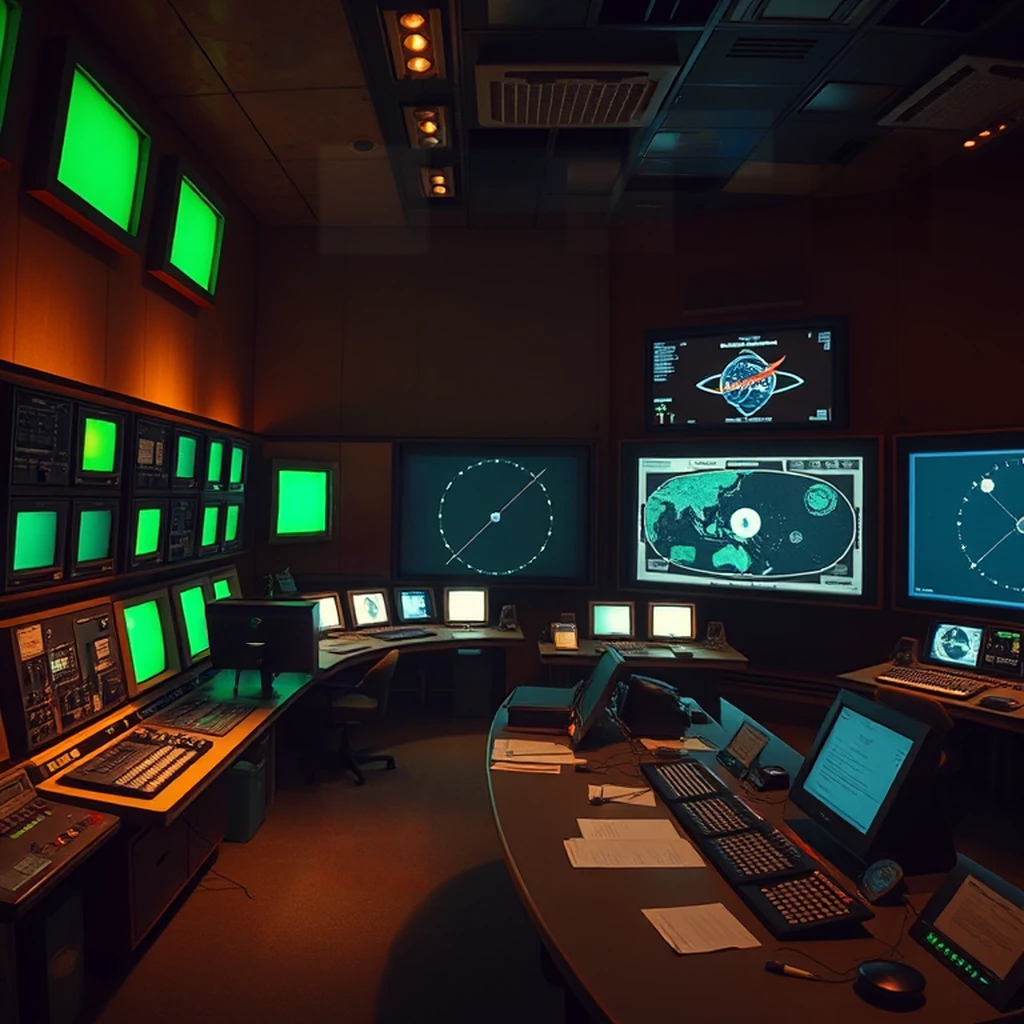
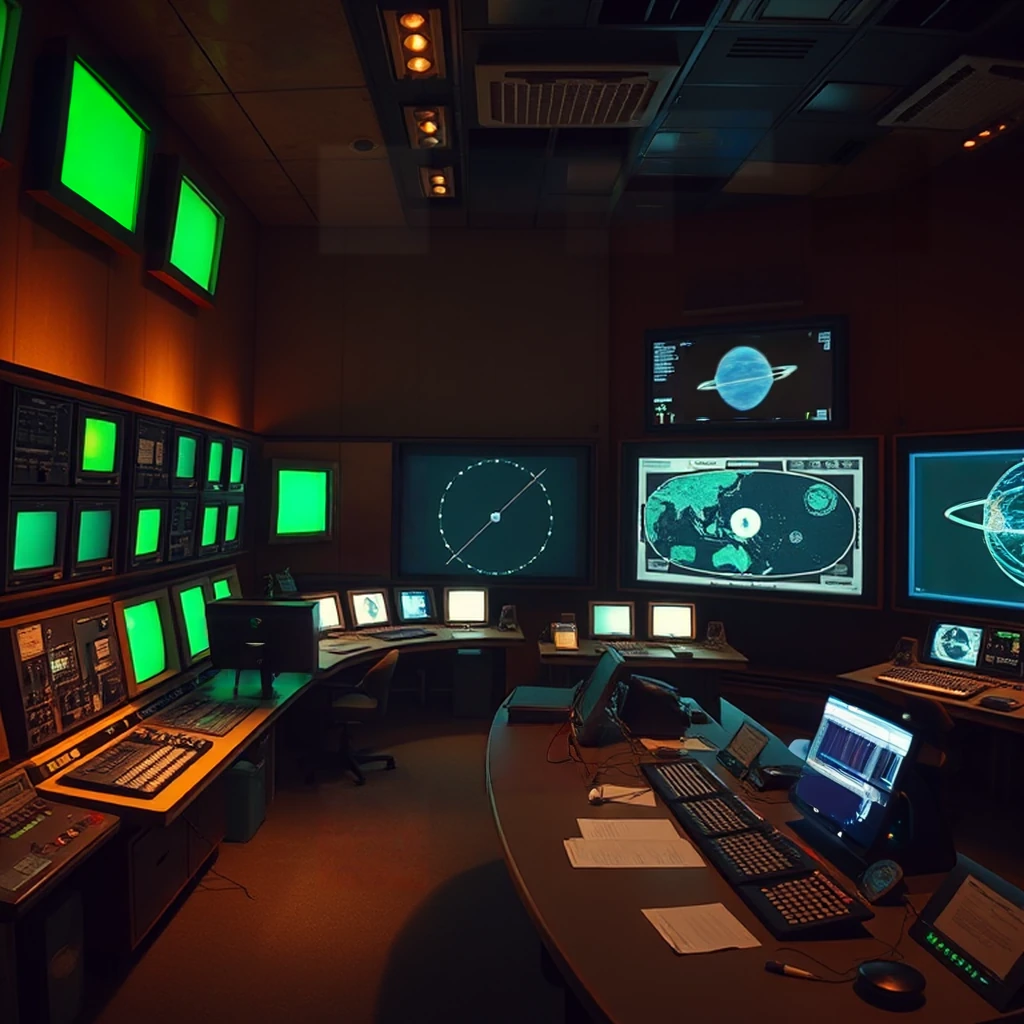
A photorealistic mid-1960s NASA Mission Control room at night, warm ambient lighting casting shadows on walls and consoles, a bank of large CRT monitors on the left wall with glowing green displays, detailed dials and switches on control panels, mission maps displayed on larger screens, a central console with keyboards and printouts, reflections in polished surfaces, evenly lit, photorealistic, coherent composition.
The dim glow of green-tinted CRT monitors casts an eerie yet inviting light across the room, highlighting the intricate dials and switches that line every console. The air is thick with the hum of machinery and the soft murmur of distant conversations. Warm amber lighting spills from beneath control panels, creating a cozy ambiance despite the vastness of the space. Polished metal surfaces catch the lights, reflecting subtle movements and adding an almost cinematic quality to the scene. Mission maps are displayed on large screens, their charts and diagrams glowing softly under the ambient light, while detailed printouts litter the central console alongside vintage keyboards that clack rhythmically with each keystroke. The textures range from smooth metallic finishes to the tactile feel of textured paper and fabric cords snaking between equipment. This room is a testament to an era where technology was both cutting-edge and rudimentary, embodying a unique blend of precision and nostalgia. What makes this scene particularly intriguing for a spot-the-difference puzzle is its rich tapestry of elements—each detail holds the potential to be the key to uncovering subtle yet significant contrasts within the room's complex environment.
Background
The mid-1960s NASA Mission Control room depicted in this scene is a snapshot of the United States during one of its most ambitious periods of technological and space exploration advancement. Situated at the heart of Houston, Texas, where the Johnson Space Center now stands, this control room was the epicenter of American efforts to put humans on the moon as part of the Apollo program. The era saw an explosion in scientific innovation and a fascination with all things related to space travel, reflecting broader cultural shifts towards modernity and technological prowess. The room's design is a testament to industrial aesthetics of the time, featuring large CRT monitors that glow green against dark backgrounds, reminiscent of the early days of computer technology when bulky cathode ray tubes were state-of-the-art for displaying information. Detailed dials and switches on control panels illustrate the era’s reliance on mechanical precision and human ingenuity before the advent of fully digital systems. The warm ambient lighting casting shadows across walls and consoles creates a cozy atmosphere in contrast to the stark, futuristic appearance of the equipment—a reflection of the era's blend of practicality with an aesthetic that valued functionality over form. This room not only symbolizes America’s Cold War-era competition with the Soviet Union but also represents a pivotal moment in human history when nations united under the common goal of exploring space.
Tips for this puzzle
When you're searching for those five differences in our vintage NASA Mission Control scene, take your time and really get into the details. Remember, they often hide in plain sight—maybe lurking on a cluttered shelf or subtly blended with intricate dial faces. Shadows cast by the warm ambient lighting can also be tricky spots where differences might sneak in. Keep an eye out for reflections in polished surfaces too; sometimes what you see isn't quite what it seems! To keep yourself organized, try scanning methodically across the room. Start from one side and move your way through the scene bit by bit. And don’t forget to check back periodically if you’re stumped—sometimes a fresh look at an area can reveal those pesky differences that were hiding in plain sight. Happy spotting!
How to play
- Two near-identical images are shown side by side.
- Tap or click on the differences before the countdown timer runs out.
- Wrong clicks subtract 5 seconds from the clock.
- Stuck? Spend a hint token to glow one remaining difference.
About this puzzle
This is one of 633+ hand-curated AI-generated spot-the-difference puzzles in the SpotDiff library. Each puzzle has multiple variants — the differences you see on your first play are different from the next. 3 variant(s) for this scene.
SpotDiff is free to play with no signup required, and the library grows daily — roughly 10-30 new puzzles added every day. Hint tokens are earned through daily login, streaks, and referrals — or buy a bundle if you want unlimited hints. Refunds are available within 7 days, prorated by the tokens you haven't used yet.