Stage Clear Tips — dragon hoard room filled with treasure chests and sparkling jewels
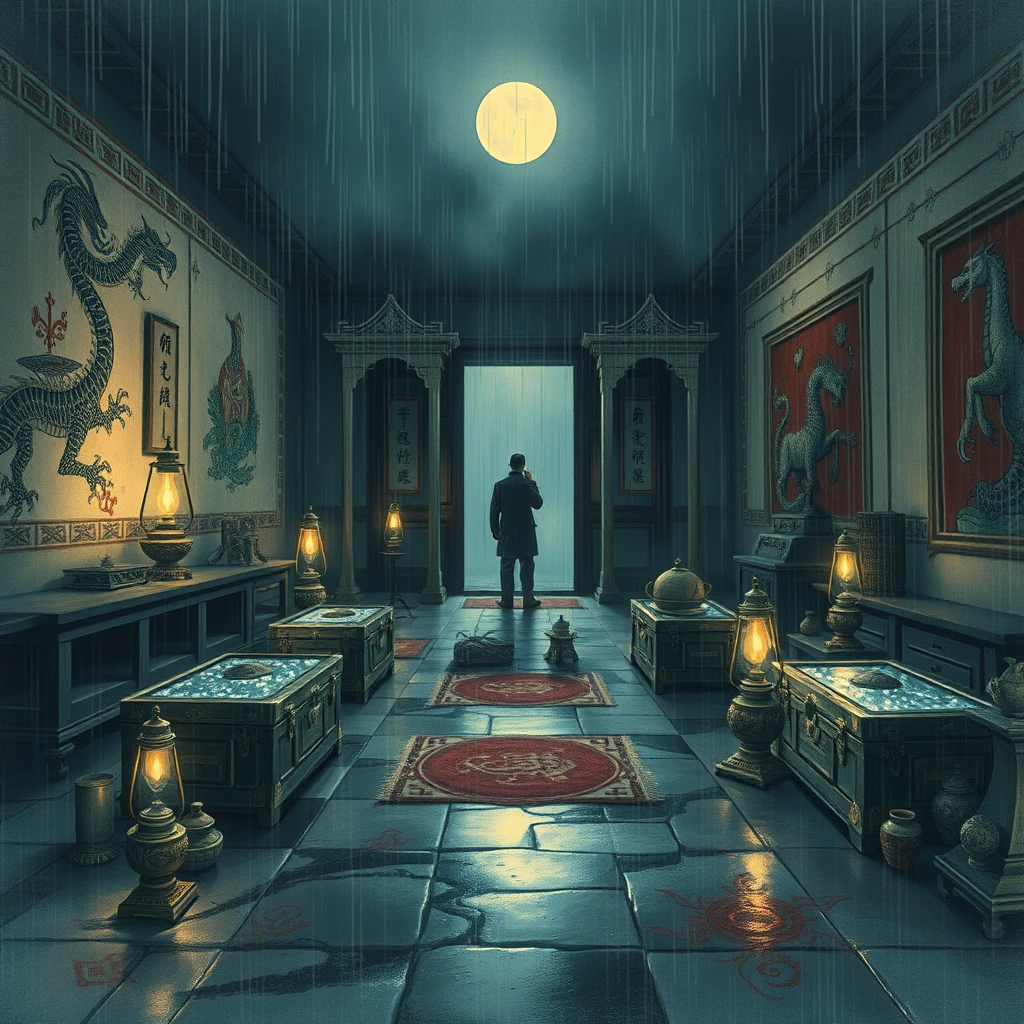
The dragon hoard room is a mesmerizing treasure trove filled with gleaming chests and dazzling jewels. Rich hues of gold, crimson, and emerald fill the space, casting an aura of ancient wealth and mystical allure.
What kind of changes to expect
In today's puzzle, you'll encounter various types of differences designed to challenge your observational skills. Keep an eye out for subtle lighting variations that might alter the ambiance without changing any objects outright. Additionally, look for tool/object swaps, where everyday items are replaced with magical counterparts, adding a layer of fantasy to your search. Magical accents will be sprinkled throughout, such as glowing runes or enchanted symbols, while decorative changes like draping tapestries or floating candles will shift slightly in placement or appearance. Lastly, you'll find several other object swaps that blend seamlessly into the scene, requiring keen attention to detail.
Theme background
The dragon hoard room is rendered with a fantastical art style that emphasizes intricate details and vivid colors. The color palette ranges from deep burgundies and fiery reds to lush greens and metallic golds, reflecting the mythical grandeur of ancient treasures. The composition features towering stacks of chests, scattered jewels, and ornate furnishings, all set under an enchanted light source that casts mystical shadows across the space. This scene draws inspiration from medieval legends and fantasy literature, capturing the essence of a dragon's lair filled with untold riches.
Strategy
1. Focus on lighting variations by studying how different sections are illuminated or shadowed.
2. Identify tool/object swaps by recognizing items that seem out of place or have an otherworldly appearance.
3. Scan for magical accents and decorative changes by looking at the finer details like runes, candles, and tapestries that might shift slightly in placement or design.
Full position guide
The list below covers all differences in this puzzle. Click to expand if you're stuck and want exact positions.
🔍 Show difference positions (spoilers — open only when stuck)
Approximate on-screen position and change for each difference. Each playthrough picks 5 from this pool, so your game may match only some entries.
- middle-center — Dragon Scale → Phoenix Feather
- middle-center — Pendant → Amulet
- middle-left — Phoenix → Dragon
- top-right — Feng Shui Scroll → Scroll of Destiny
- bottom-left — Jeweled Orb → Gilded Sphere
- middle-left — Lantern → Candlestick
- middle-left — Jeweled Box → Gilded Chest
- bottom-right — Jade Vase → Porcelain Jar
- middle-right — Crystal Ball → Gemstone Sphere
- middle-center — Scroll → Talisman
- middle-left — Chest → Treasure Box
- top-left — Jewel → Pearl
Try the puzzle
→ Play dragon hoard room filled with treasure chests and sparkling jewels on SpotDiff Daily
---
One of 500+ AI-generated daily puzzles on SpotDiff. New scene every day at midnight UTC.
→ Open this puzzle on SpotDiff Daily